If you’re looking to add a pop of personality or seasonal flair to your home, a new set of throw pillows might be just the answer. Whether for your couch, bed, or outdoor space, pillows can completely refresh a room. But when you factor in the price of brand-new pillows, things can add up quickly. Luckily, there’s an easy, budget-friendly way to get the look you want without sewing a single stitch!
With some fabric and fusible tape, you can make no-sew throw pillows that are just as custom and stylish as store-bought options. No need to settle for pre-made designs; this method allows you to pick the colors and prints that match your space. Plus, you get the satisfaction of a DIY project you can complete in no time. Ready to give it a try?

Gather Your Materials and Supplies
- Fabric to cover pillow (Fabric should be the size of the pillow form, plus 2″ inches.)
- Fusible binding tape/web Iron Scissors {or rotary cutter}
- Ruler
- Square pillow insert or throw pillow
*Read the ‘Thoughts Over Coffee’ section at the very end!

Step 1. Measure, Cut, and Press the Fabric
Cut two pieces of fabric that measure the size of the pillow form plus 2″ inches. For example: The pillow here is 14″ x 14″ inches. So my two fabric pieces are 16″ x 16″ inches. Place the right sides together and press your fabric. Pressing always makes it easier to work with the fabric.

Step 2. Place the Fusible Tape
Now, it’s time to start fusing the two fabrics together. Cut a piece of fusable tape that measures the full length of one side. With right sides still together, place the tape at the top edge of the first fabric and lay the second fabric evenly on top of the tape. Press the fabric with a hot iron several times along that edge. Go over it again to make sure the tape has fused. Do this for three of the sides.

Step 3. Fuse Far Sides
On the fourth side we are only going to add the fusible tape 3″ inches from the ends. So, add about 3″ inches of tape from the far left (photo) end. Now do the same for the far right end. This will leave an opening for turning.

Step 4. Turn Cover Right Sides Out
Turn your cover right-side-out through the opening. Use your fingers or a turning tool to gently press the corners out. Pinch the tow top corners and hold it up in front of you. You’ll notice that when you pull those corners taut, the raw edges of the opening naturally turn inward. Press the opening flat, allowing the raw edges to turn inside.

Step 5. Place the Pillow Form Inside the Cover
To place the pillow inside the cover, grip two sides of the pillow and fold the pillow onto itself as much as possible. Once you have the pillow in there, slide your hand inside and fiddle with getting the corners of the pillow form nestled into the corners of the cover.

Step. 6 Fuse the Opening
Cut a piece of fusible tape the length of the opening. Holding both sides of the opening together, sandwich the tape in-between the two fabric sides.

Step 7. Press the Opening Closed
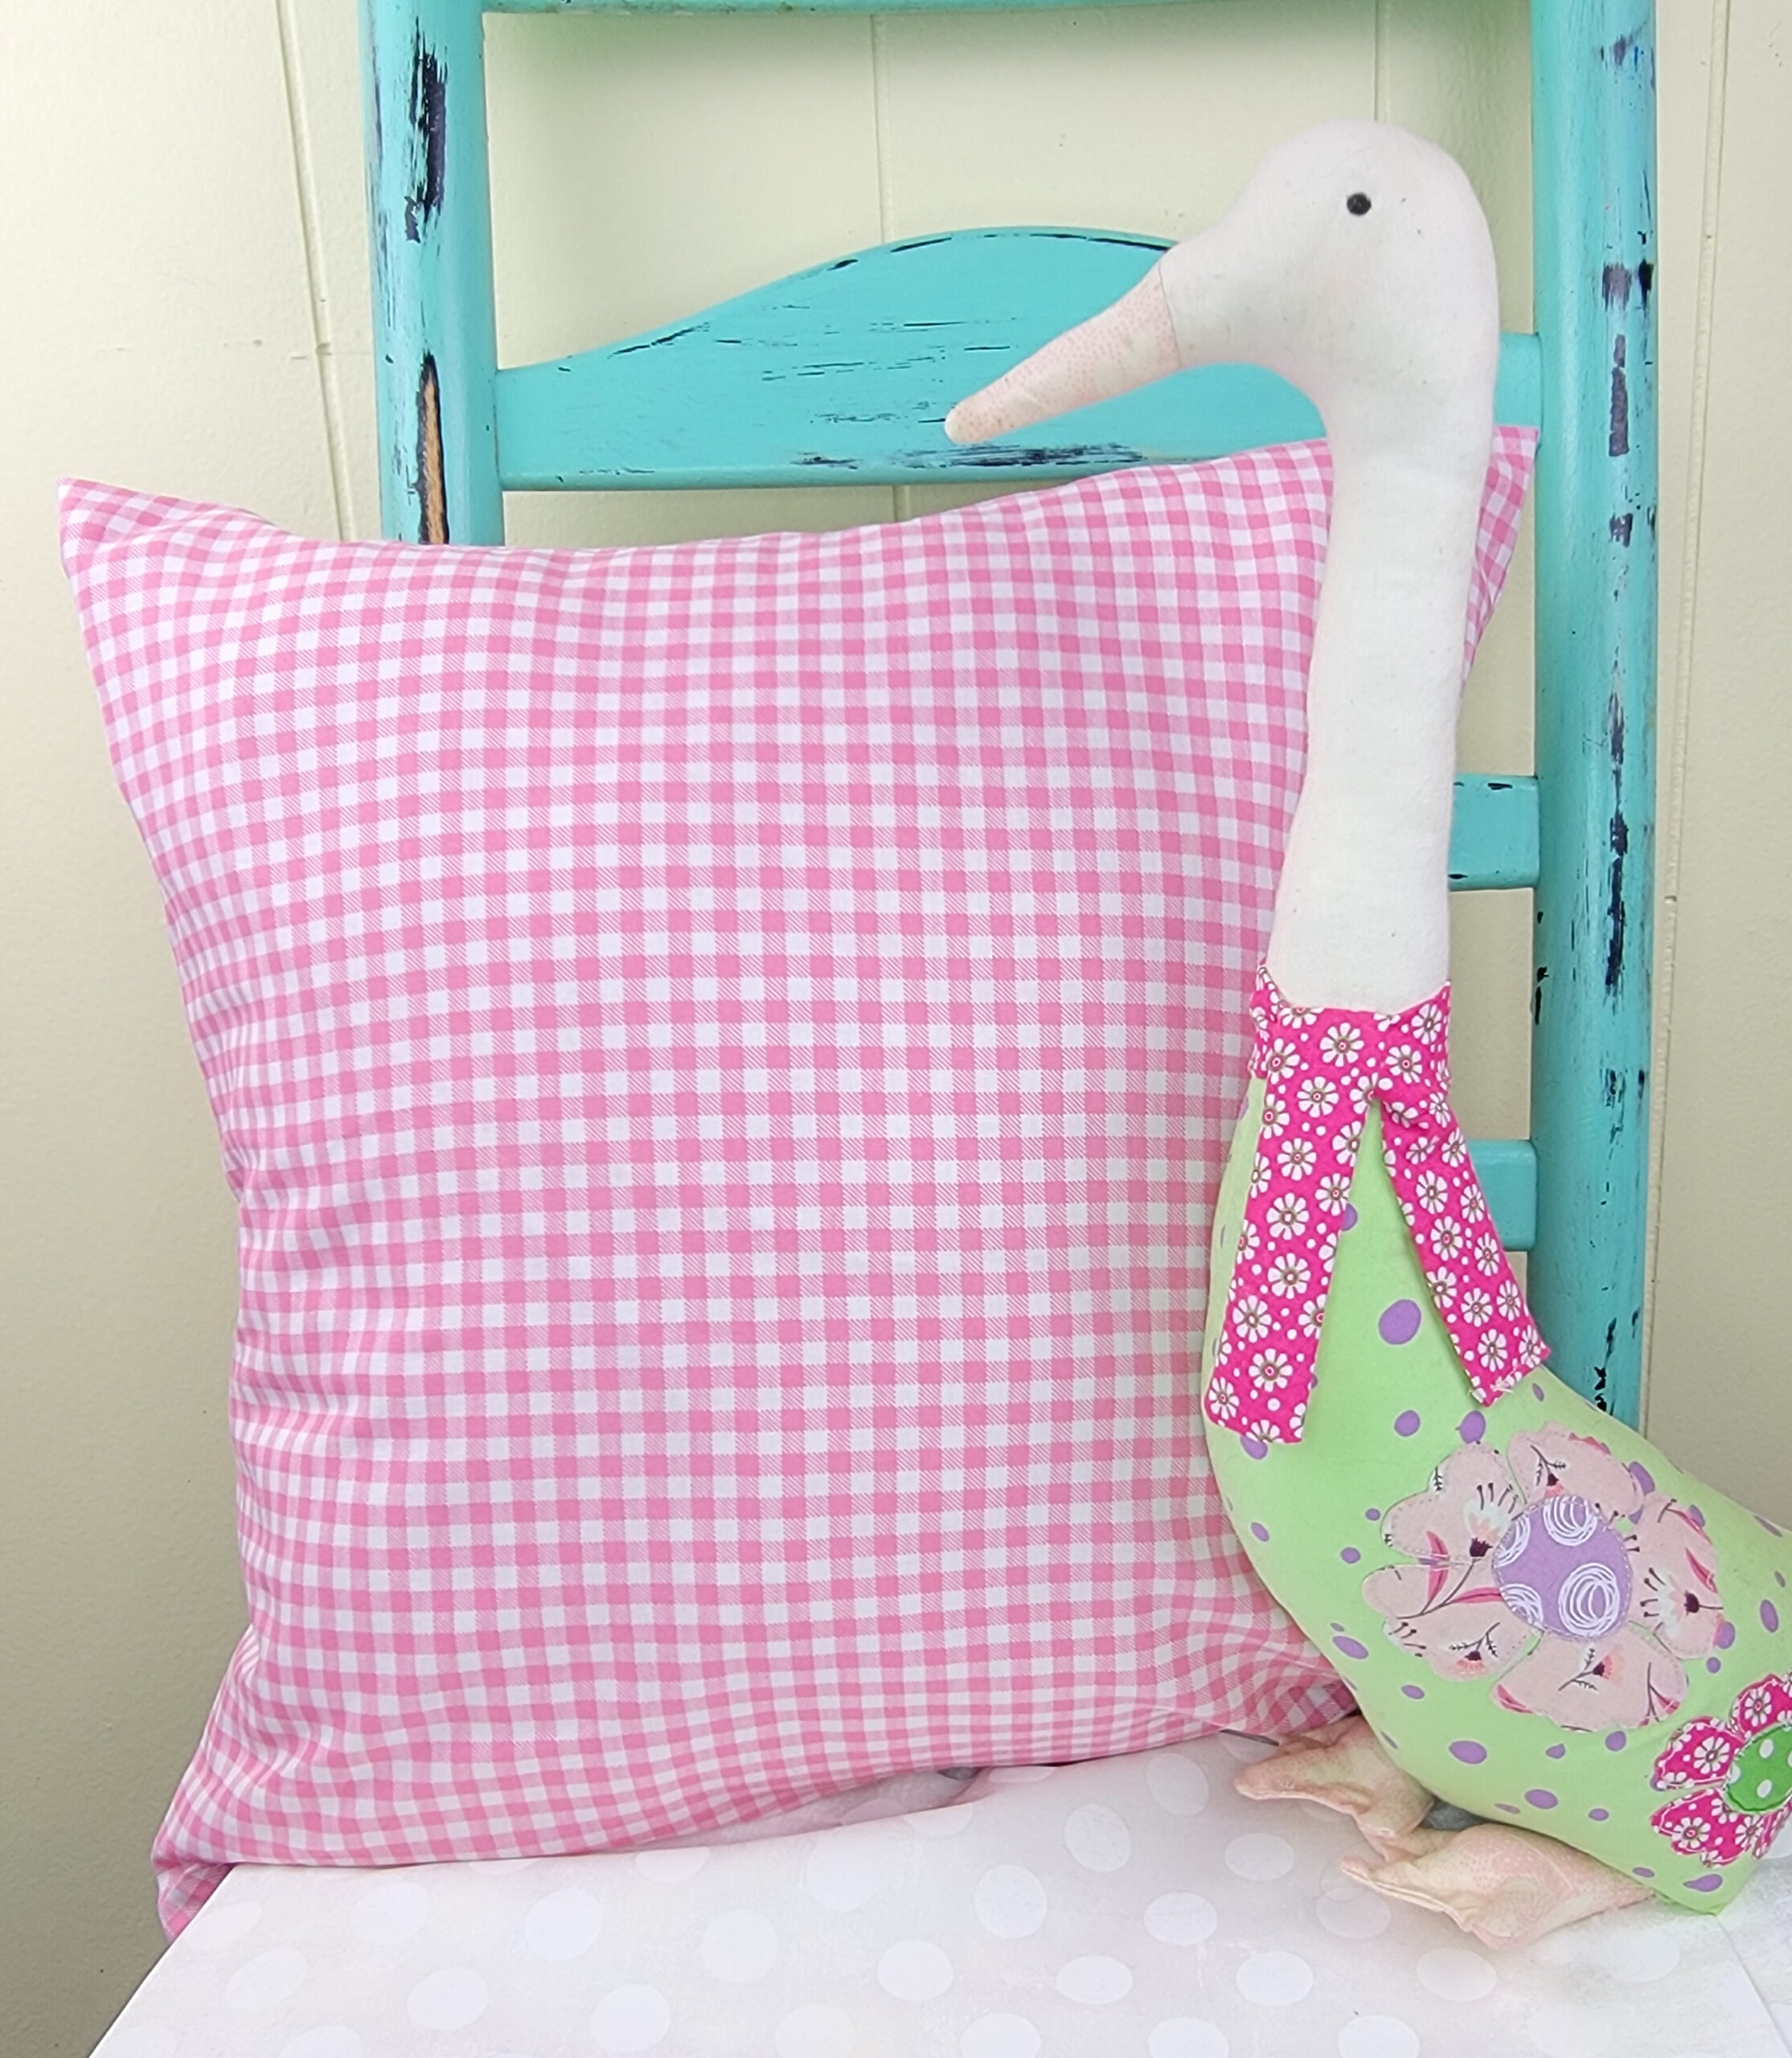
Stand the pillow up on its bottom and press the opening with an iron until it’s fused shut. You now have a freshly covered pillow! {You won’t want to stop with just one!}
Thoughts Over Coffee
- Fusible tape (or web) is available through several different companies. Don’t be surprised if it doesn’t look exactly like mine does. Some fusible tape has peelable strops that reveal the tape under it. Just follow the directions on the tape you buy and it will work the same way.
- Fused pillow covers hold up surprisingly well both in terms of both wear-and-tear and the washing maching. But it’s fair to warn you that they won’t last asd long as sewn ones would.
- Don’t purchase new pillow inserts if you don’t have to. Look around the house for throw pillows around your house that can be freshend up with a new cover!
Looking for more pillow cover ideas? Check out our easy-to-sew Envelope Style Pillow Covers and our other No-Sew Throw Pillow Covers!