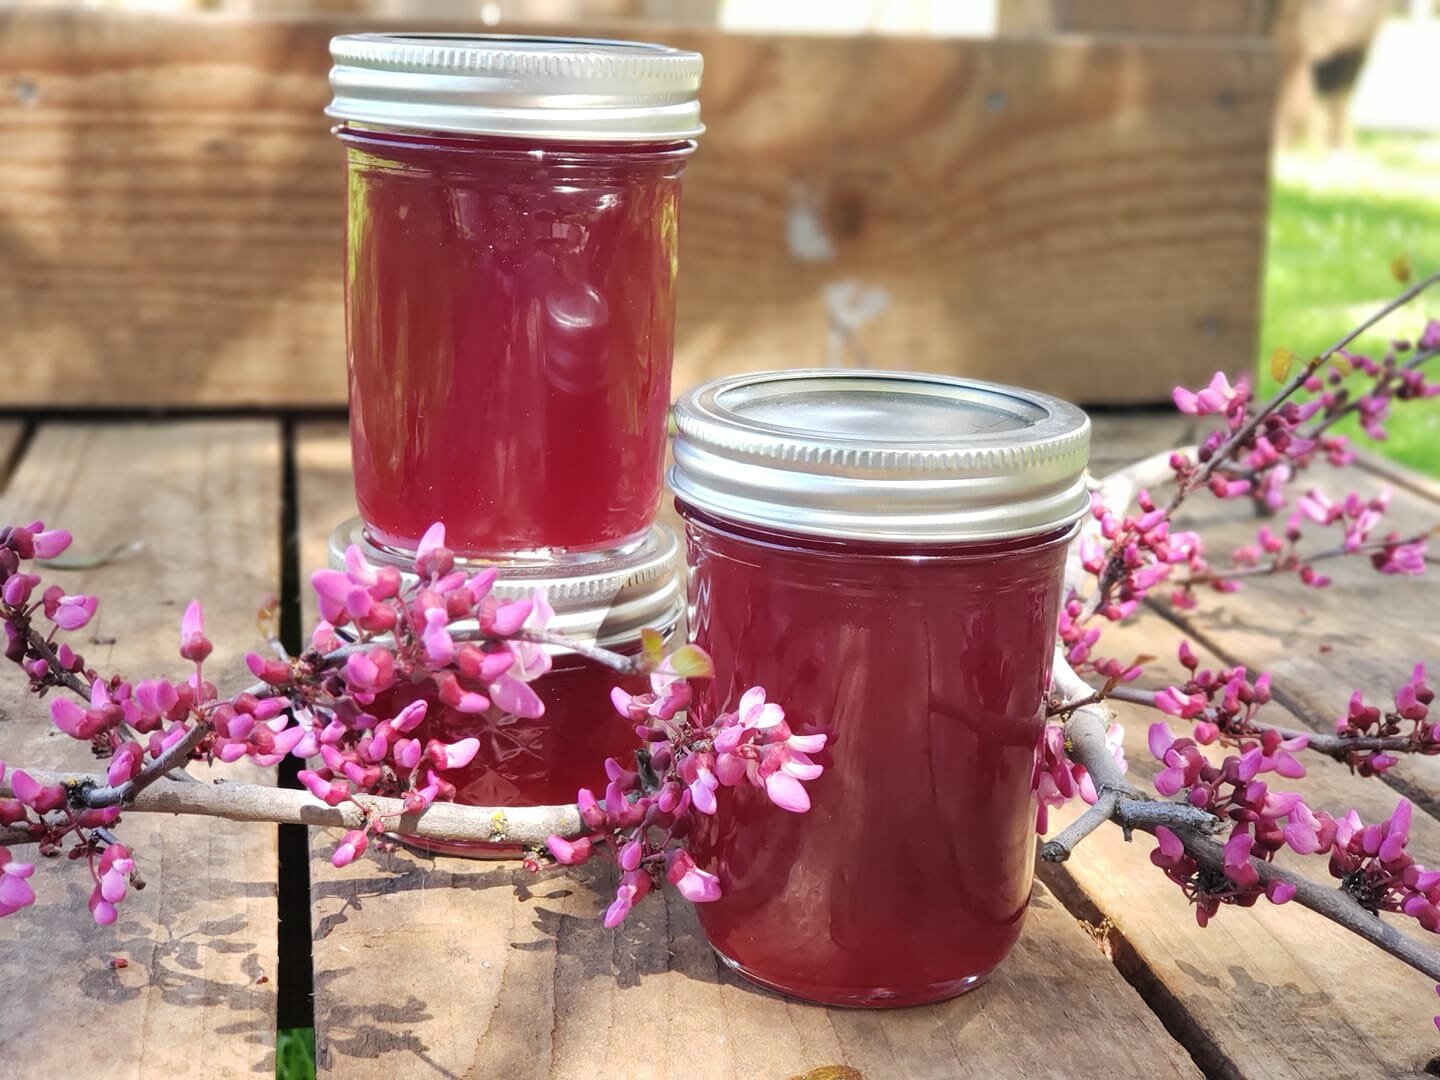
I know, I know: this isn’t a cooking or canning blog. But how could I resist? Each year in the early spring, our native Western Redbud trees bloom like crazy with purplish-pink blossoms. I can’t tell you how thrilled I was the day I discovered that a delicate-flavored jelly can be made from these lovely flowers! I accidentally ran into the recipe several years ago when my friend, Dee Nash (Red Dirt Ramblings) shared a recipe from her friend.
It’s one of the easiest jellies to make and has a light, spring flavor that’s difficult to describe. If you’ve never done any canning, this recipe makes a great first experience. I hope you’ll give it a go this spring and share with me how you would describe the flavor.
Redbud jelly is another way to enjoy and celebrate native flowering plants, folks! Important note: When we gather the flowers for our jelly, we’re always careful to collect only a handful or two from each Western Redbud tree. The goal is to remove a small amount for our use and leave the rest for the native bees and other pollinators.
{Why is this DIY on a craft site? I mean, making jelly isn’t a craft...or is it? You may have noticed that creating things with nature is a thing with me. Feels like crafting to me. That’s my story and I’m sticking to it!}

Gather Your Materials and Supplies:
- 3 cups of redbuds
- Approx. 2 cups of boiling water
- 2-3 Tablespoons lemon juice
- 3 Tablespoons Sure Jell powdered pectin (I have the unsweetened one)
- 2 cups sugar
- 1-2 tsp. butter
- 1 tsp. vanilla
- Clean and sterilized four, 4 ounce jelly jars and lids.

Homemade Redbud Jelly Directions
1. Gather 3 cups of fresh, new redbud blooms (watch out for bees). Make sure you are gathering from a tree that hasn’t received any overspray from weed killer or other poison. There is NO NEED to separate the small green bud bases from the flowers; use the full bud material you pull straight from the tree.
2. Once in your kitchen, check for any bugs, sticks, etc. Then place the blooms in a container large enough to hold them and 2 cups of water.
3. Heat just slightly over 2 cups water to a boil (the slight overage will accommodate for the steam lost) and then pour the boiling water over the blooms. Stir your mixture gently then cover and place in the refrigerator overnight (sometimes mine is in the fridge for 2 nights).
4. The following day, pour your redbud tea through a fine strainer or cheesecloth. If you’re able, smash/squish the tea from the flowers – you want to save as much liquid as possible. You may need to pour through muslin or cheesecloth a couple of times to ensure that all particulates are filtered out of the liquid.
5. Heat your redbud tea to a boil. Add the lemon juice and Sure-Jel and then bring once again to boil. Add sugar, and then the 1-2 tsp. butter. Heat to boiling and boil hard for 1 minute. I use a whisk to continually stir mine during this period; it helps keep the foaming down, as does the butter.
*This is where I added 1 tsp. of vanilla to the mixture (just before I poured it into the jars). The original recipe doesn’t add vanilla, so you can omit this if you’d like.
6. Fill the sterilized jars and screw lids on tightly. Then sit back and listen for the ‘ping!‘ as the jelly cools and the lids seal. Little Redbud Jelly jars make the perfect sping gift.
Head’s Up
- This recipe only makes about 3 1/2 half-pints, which are the tiniest of all jelly jars. So, I like to double the recipe. However, I don’t know if the recipe will turn out correctly if you doubled it from that point.