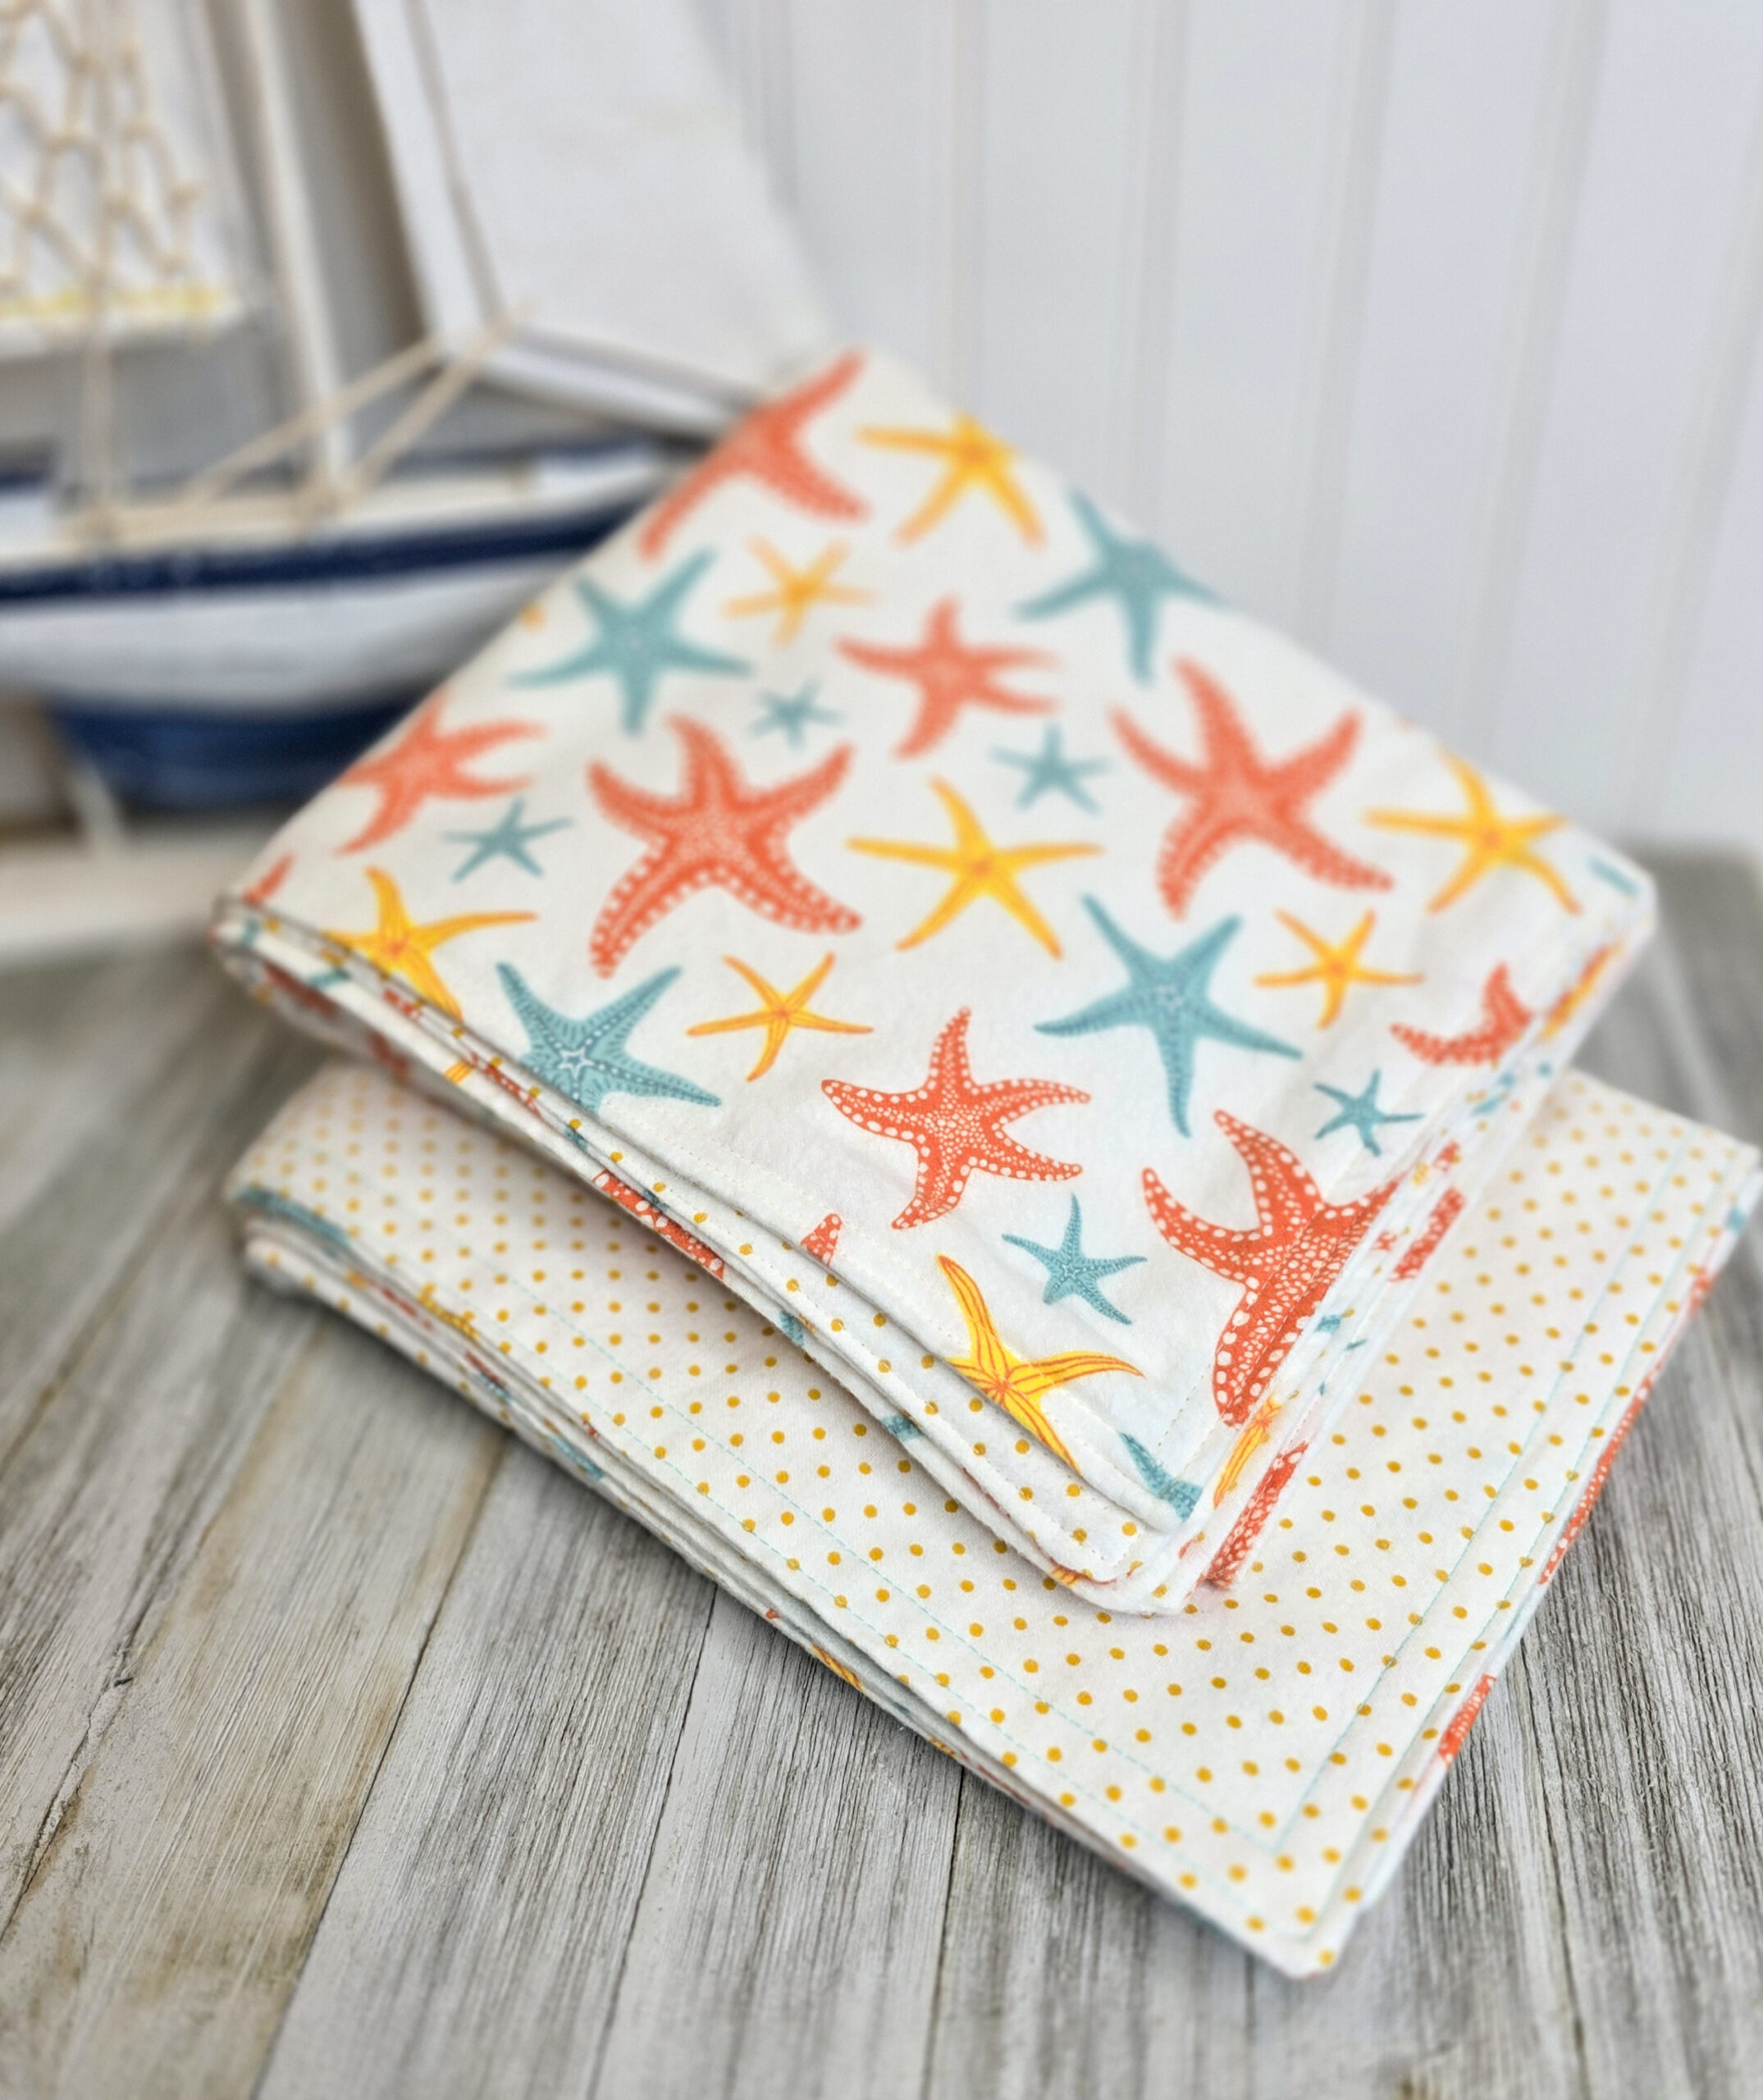
The Perfect Go-To Baby Gift (That You Can Sew in an Afternoon!)
There’s something extra special about giving a handmade gift—especially when it’s for a new baby. Whether you’re attending a baby shower, celebrating a little one’s arrival, making something sweet for Christmas, or sewing for a favorite charity, a cozy flannel blanket is always a thoughtful and appreciated gift.
This simple baby blanket tutorial is quick to make, beginner-friendly, reversible, and totally customizable. You can mix and match fabrics—flannel, fleece, or cotton—to suit the season or the baby’s nursery theme. It’s one of those projects you’ll want to make again and again.
If you just love making baby blankets but don’t have a little one nearby, I hope you’ll take a peek at the charities listed on my Giving Back page. There’s always someone out there who could use a little handmade comfort. Now grab some soft, adorable fabric, and let’s get started!
Gather Your Supplies
- 1 yard of a main (top) flannel fabric
- 1 yard of a coordinating (bottom) flannel fabric
- Thread (matching or complimentary color).
- Sewing machine and basic notions.

Easy Reversible Baby Blanket (Using Flannel or Fleece)
You can mix and match your fabrics for different looks and textures depending on the look or vibe you’re going for (or what you have in your stash)!
- Flannel on both sides
- Fleece on both sides
- Flannel + cotton
- Fleece + cotton
Prepare Your Fabrics
Cut the main (top) piece of fabric and coordinating (back) piece of fabric to 36″ x 36″.
I skipped snapping photos of this part, but it’s important—you’ll need to cut and press your fabric first.
Step 1: Layer & Pin
Place the two pieces right sides together, aligning the edges neatly.
Pin around all four sides, but leave a 4″ opening on one edge. This is where you’ll turn the blanket right side out later.
Step 2: Sew & Clip
Sew along all four edges using a ½” seam allowance, making sure to leave the opening unsewn. Once sewn, clip the corners diagonally (without cutting through your stitches) to reduce bulk and help the corners turn nicely.
Step 3: Turn & Shape
Turn the blanket right side out through the gap.
Use a chopstick, dowel, or turning tool to gently push out the corners so they’re nice and pointy.
Step 4: Press & Topstitch
Tuck in the raw edges at the opening and press the blanket, especially the edges, to get everything crisp and neat. Lengthen your stitch length to about 3.0 and topstitch all the way around, sewing the opening shut as you go. Then, add a second topstitch line about 3/8″ inside the first for a clean, finished look.

☕️ Thoughts Over Coffee
If you and I were sitting together chatting over our coffee cups, here are a couple things I’d share with you about this project:
- Baby blankets are one of those things that don’t have to be super precise, yanno? The final size isn’t critical. You might find yourself happily sewing along and suddenly realize that instead of using a ½” seam (like you did on another side), you’ve wandered into a ⅝” seam. To that, I say—who cares?? Seriously, no one’s going to notice (certainly not the baby!), and I promise no one’s stopping by to measure your seams. The important thing is to just keep that measurement consistent across the side.
- Also, consider playing with the decorative stitches on your sewing machine for the topstitching. It does take a bit longer, but the extra charm and detail might be totally worth it!