Pumpkins and dried flowers (plus other botanicals) pair perfectly together! With just a touch of floral finesse, these little guys become elegant, enchanting decorations from late summer all the way through winter. The best part? It’s not about skill or talent, just a keen eye for natural beauty. Get ready to fall in love with these adorable creations.
I’ve made these bad boys every year and I’ve never created two that are the same. Dried flower pumpkins are the perfect craft to let the creator in you shine!

Gather the Dried Goods for Floral Pumpkins
My pumpkin and material photos are meant to be a source of guidance while you collect your favorite items for this craft. Most of these items can be easily found at your local craft store. Remember, this list is the tip of the iceberg of what materials can be used. In fact, collecting dried items from your own yard or garden will make your pumpkins extra special.
Natural Materials Such As:
- Strawflowers/Dried flower heads
- Small pinecones
- Bunny tail grass
- Wheat
- Statice
- Lavender
- White oat
- Yarrow
- Globe amaranth
- Starflowers
- Celosia
- White craspedia or Yellow craspedia
- Broom
- Green spaghum moss
- Spanish moss
Other goodies:
- Silk flowers (artificial)
- Silk greenery (artificial)
- Branches/sticks/twigs
- Little creatures or people

Get Your Crafting Tools
- Cool temp glue gun, Dual temp glue gun {Oooo fancy!}, or Hot temp glue gun {if my story down below fails to impress you}.
- Appropriate glue sticks for your type of gun!
- OR Crafters tacky glue
- Large craft scissors or Small craft scissors {for most natural materials}
- * Wire cutters {if you’re using artifical materials}
The tools needed for this craft are few. Choosing wire snips or craft scissors really is just about how tough your stems or other materials are. Mostly, regular craft scissors are fine. However, artificial flowers and leaves will often have wire to cut through.
Let’s talk about the glue gun, shall we? Wayyyyy back in the day (like the late 70’s/early 80’s), we clenched our jaws and held back tears, as our crafty little fingers were burnt to a crisp from those hot temp glue guns. If the cool temp glue guns existed, they certainly weren’t available commercially at that time.I have both types and I don’t mind sharing with you a recent story.
For the pumpkins in these photos, I decided to pull out my big, trusty hot guy. Because, hey, I’ve been using this glue gun forever…I’m basicially a pro and don’t need to resort to less dangerous tools. I got this. I was gluing two pinecones at the same time…and carrying them in one hand. As I was walking to the craft table, I simply moved my hand closer to the pumpkin and one of the pine cones tipped over and burned the crap out of my palm. Which caused me to jump and the second pinecone rolled over onto my fingers.
I was alone. So, if I cried there was no proof.
I’m telling you this because I forgot how badly (and for how long) hot glue hurts. Blistered hand and fingers for weeks, ya’ll. {Just use the cool temps, m’kay?)

How to Make the Floral Pumpkins
I almost never know exactly what outcome I am aiming for when I make these little beauties. But you can’t go wrong if you keep a few basic things in mind.
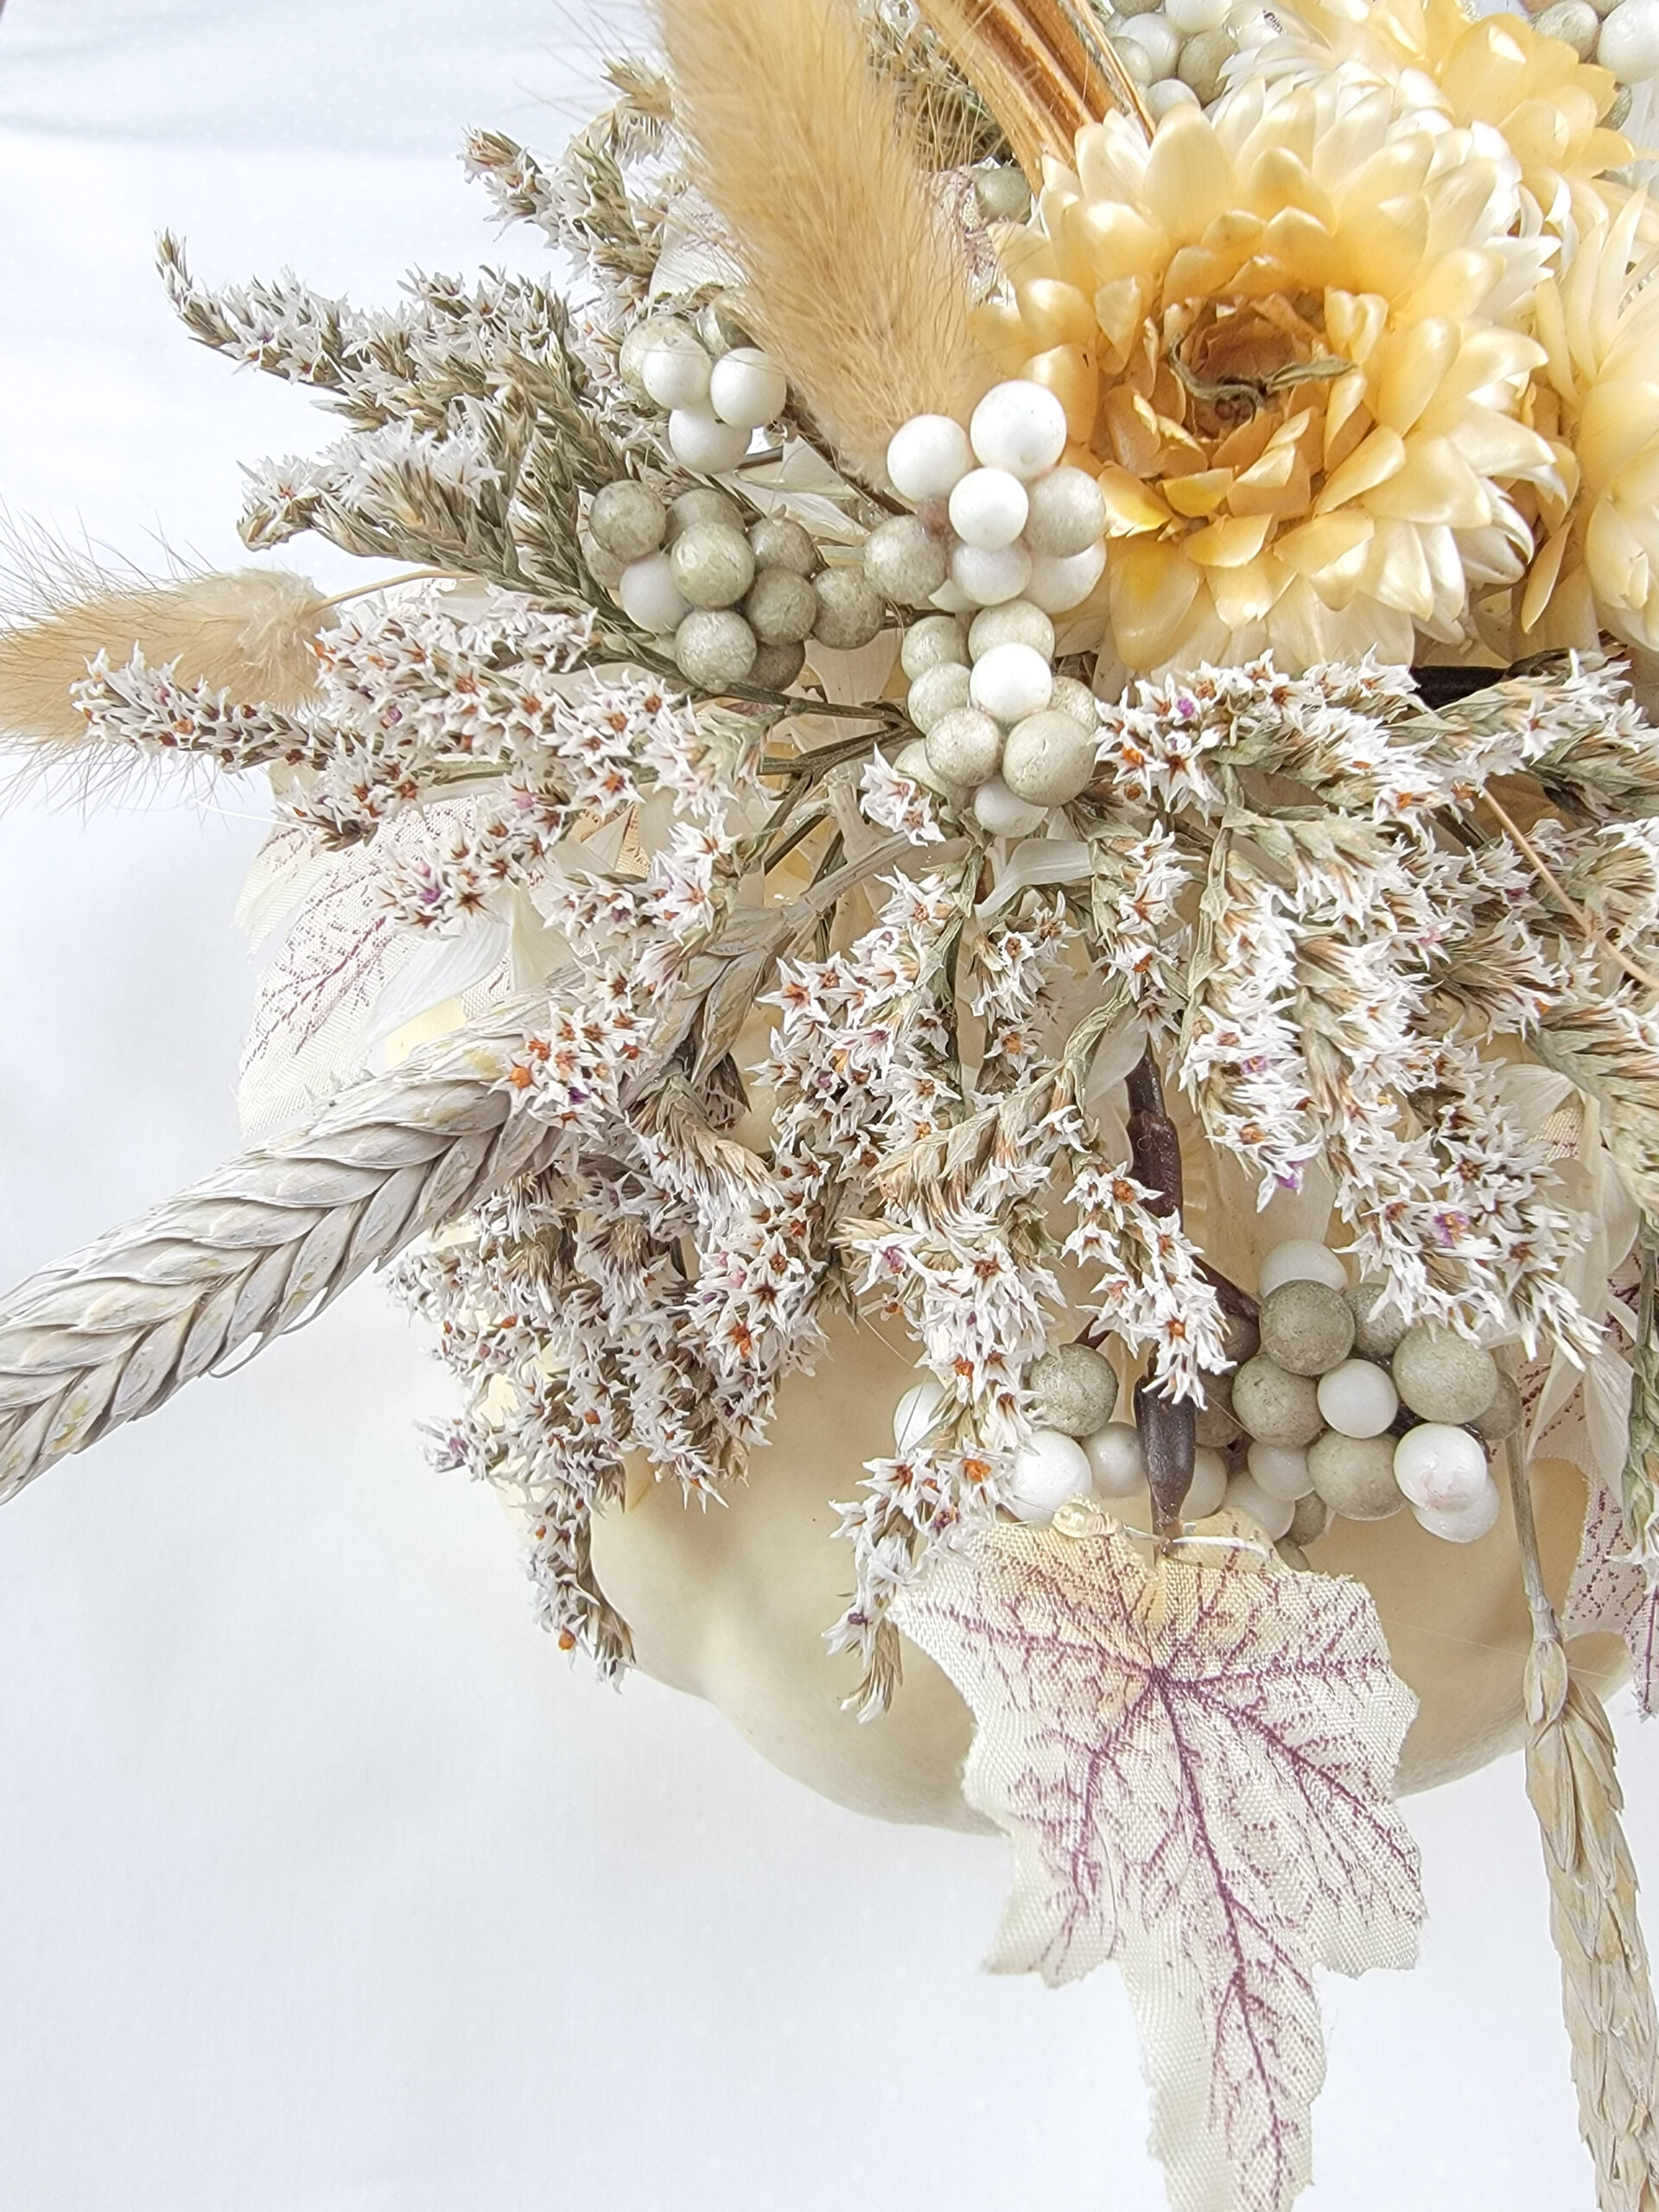
1. Starting with some type of base layer to secure your materials onto is almost always your best bet. I usually glue use spaghum moss (green or dried) or Spanish moss to the top area. Then I begin building on that. If you choose to use the tacky glue instead of a glue gun, you may have to let each layer of materials dry before adding the next.
By the way, there’s nothing wrong with waiting for things to dry in between steps! It seems like somewhere along the line in our crafting world, we got the impression that everything must be as fast as possible. Nothing could be further from the truth. {Creating stuff has never been a race…slow crafting, like slow food, and slow flowers is a blessing we need to embrace.}
2. Pay attention to the rule of odd numbers. This rule is a well-known design foundation in all kinds of decorating, designing, and crafting circles. I don’t know the science on this, but for some reason focal points are more aesthetic, appealing, and comforting when arranged in odd numbers. Interior designers swear by it as do landscape architects and photographers. And makers.
Say, your focal point on the top of your pumpkin is going to be strawflowers, you’ll want to place one, three, or five of them on top. I would also do the same for long pieces (like bunny tails) that are protruding from the base layer. Like everything in the maker space, this isn’t a deal breaker by any means. But if you have never considered this concept before, give the rule of add numbers a go and see what you think.

When you let yourself go and create instinctively, your natural aesthetics show up and no two pumpkins are ever exactly alike. They can also be surprisingly elegant when you focus on a single color (or two). As for me, most of the time I find it hard to resist a whimsical touch! They end up as a beautiful yoga garden for a fairy…

Or a soft landing for a young dragon!
I think you’re going to enjoy this project so much that come summer, you might just plant a pumpkin seed or two.